Quick Start
From install to your first approved order
This is the fastest path to seeing CrewCommerce actually work: one company, one order, one approval. It should take about ten minutes.
-
Install and activate CrewCommerce
Download the free plugin (or CrewCommerce Pro from your purchase email). In WP Admin, go to Plugins > Add New > Upload Plugin, choose the zip, install it and activate it. A new CrewCommerce menu appears in the left-hand admin sidebar, below WooCommerce. Not sure which version you need? See Free and Pro.
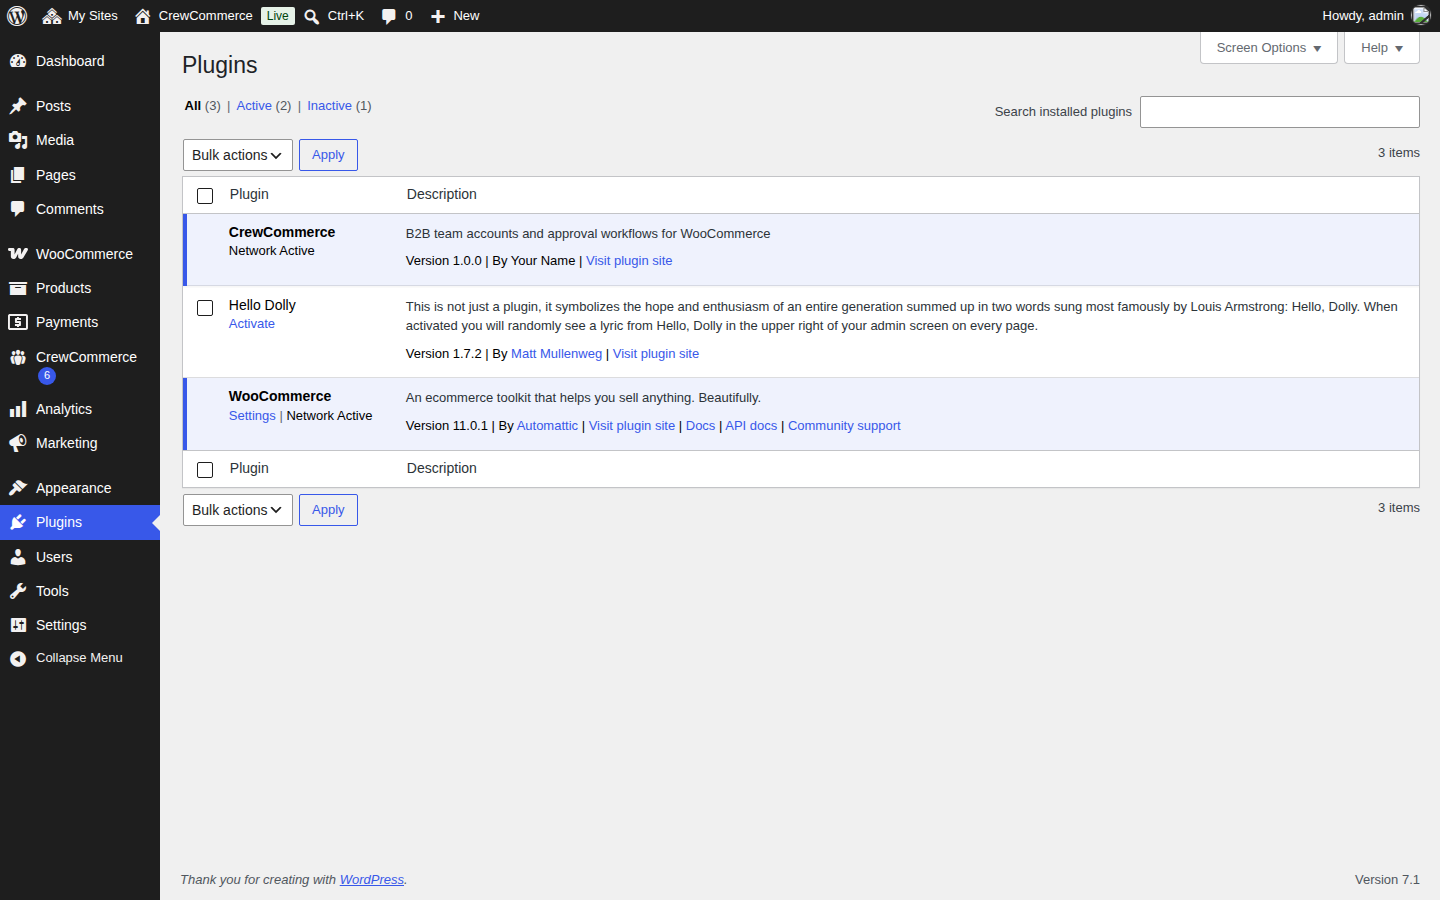
CrewCommerce active alongside WooCommerce. -
Open the CrewCommerce Dashboard
Click CrewCommerce in the sidebar. On a brand-new install, with no companies yet, you'll see a short setup guide right on the dashboard: Create a Company, Invite Team Members, Configure Approval Rules — with a button straight to Companies. Once you have at least one company, the dashboard instead shows your order stats and recent activity, like this:
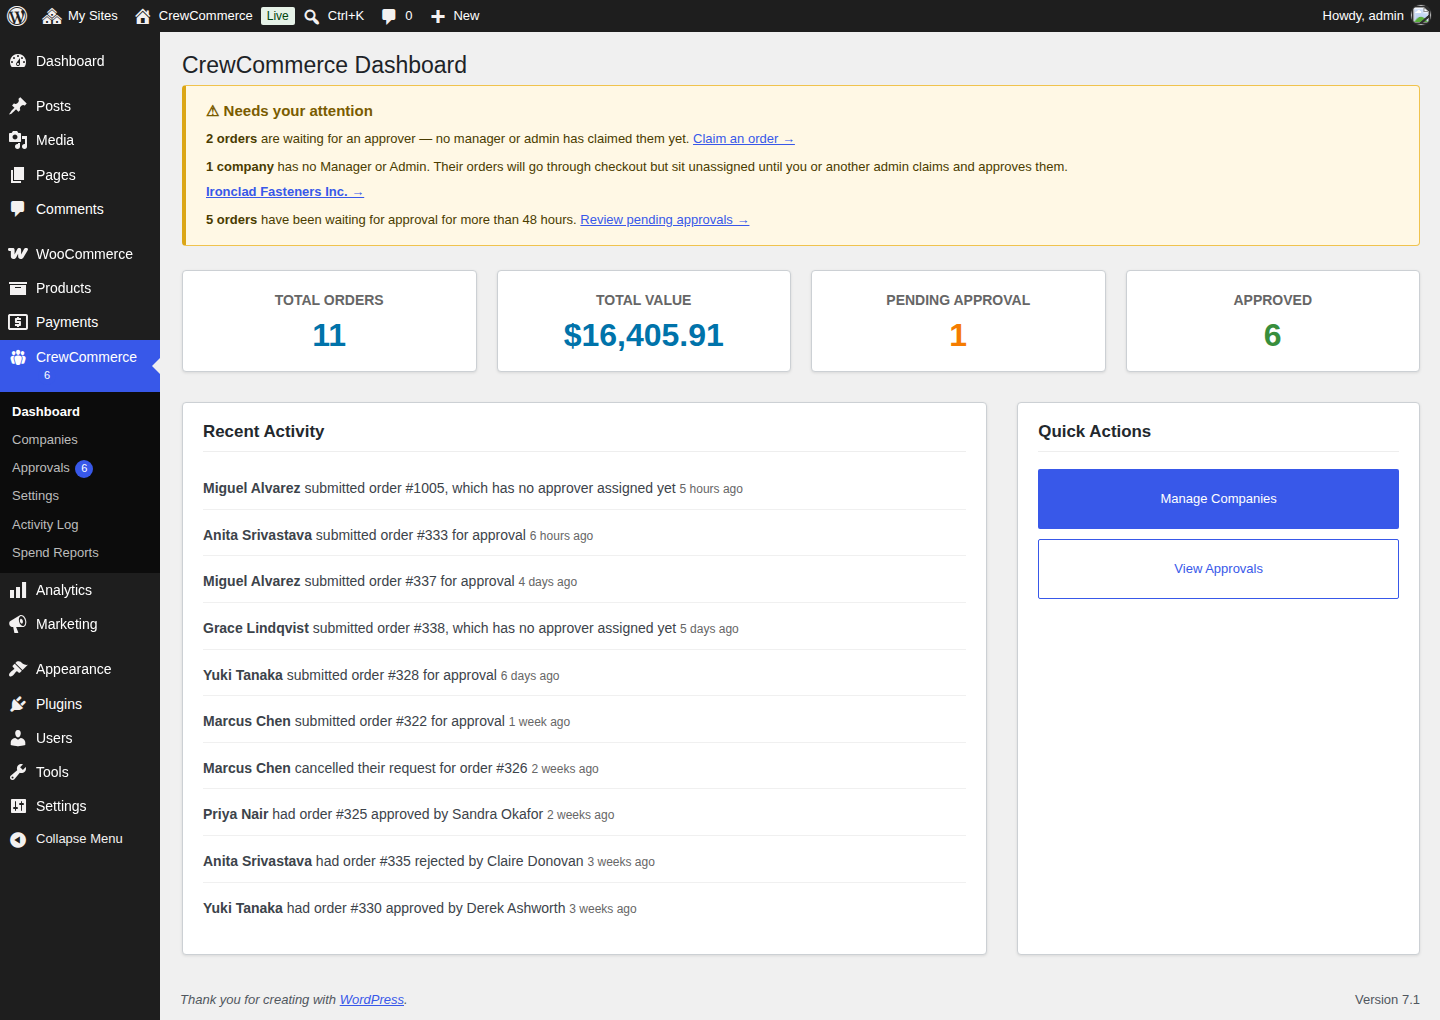
The CrewCommerce Dashboard once you have companies set up. The "Needs your attention" panel is CrewCommerce proactively surfacing things like orders with no approver. -
Set your approval rule
Go to CrewCommerce > Settings. The one setting you actually need for this walkthrough is Order Value Threshold — the dollar amount at which a Requester's order needs manager approval. Leave it at a low number (or 0, which means every order needs approval) so it's easy to trigger.
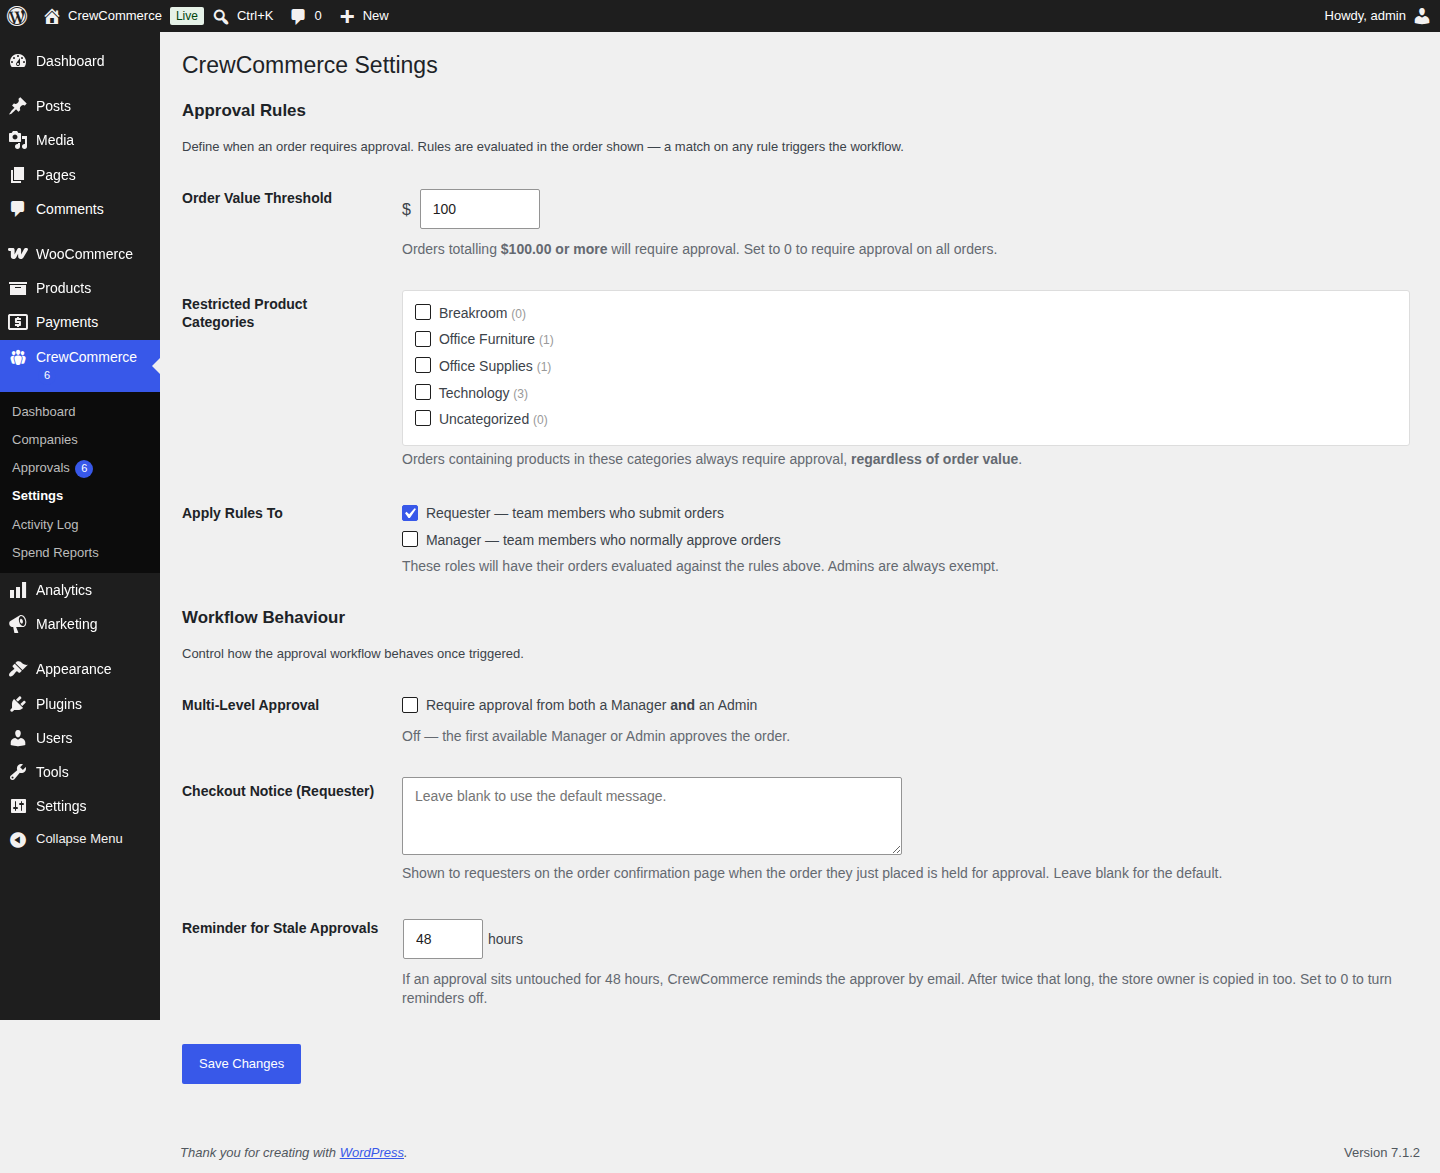
Settings — full details in Approval Workflows. -
Create your first company
Go to CrewCommerce > Companies and click Add New. Give it a name and choose an existing customer to be its Admin — that person becomes the company's first Manager-equivalent, able to approve orders and manage the team.
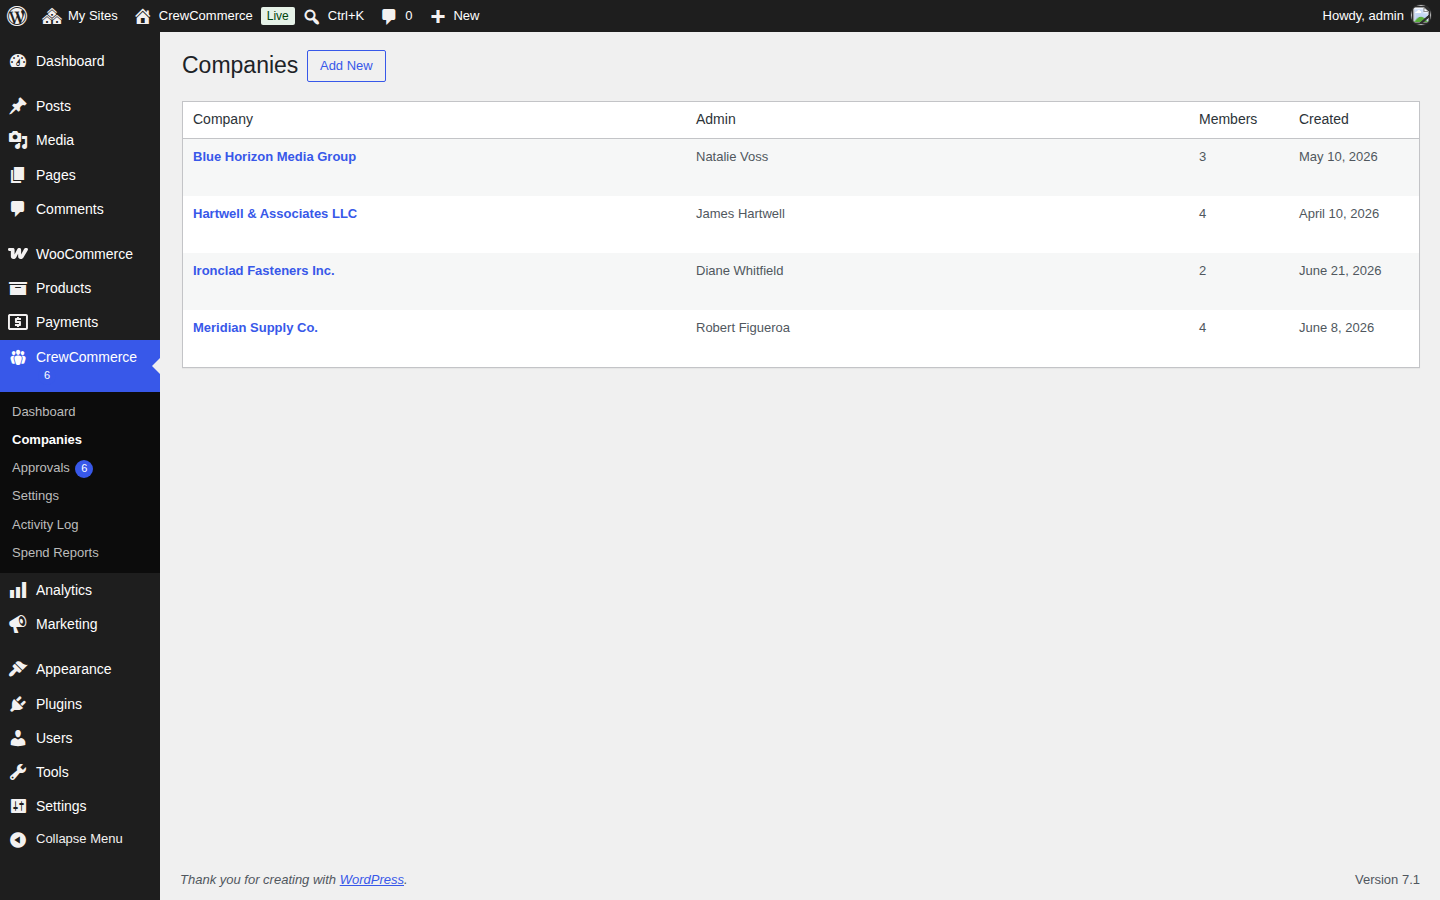
Once you have companies, this list is your starting point for managing any of them. Or let the customer do it With CrewCommerce Pro, customers can also create their own company by checking "This is a business account" when they register — see Self-Onboarding & Join Requests. -
Add a team member
Click into your new company and use Invite Member to add a second person as a Requester. This is the person who'll submit an order for approval in the next step. (If you only have one customer account handy, you can also just change your Admin's own role temporarily — but a second account makes the approval flow easier to see.)
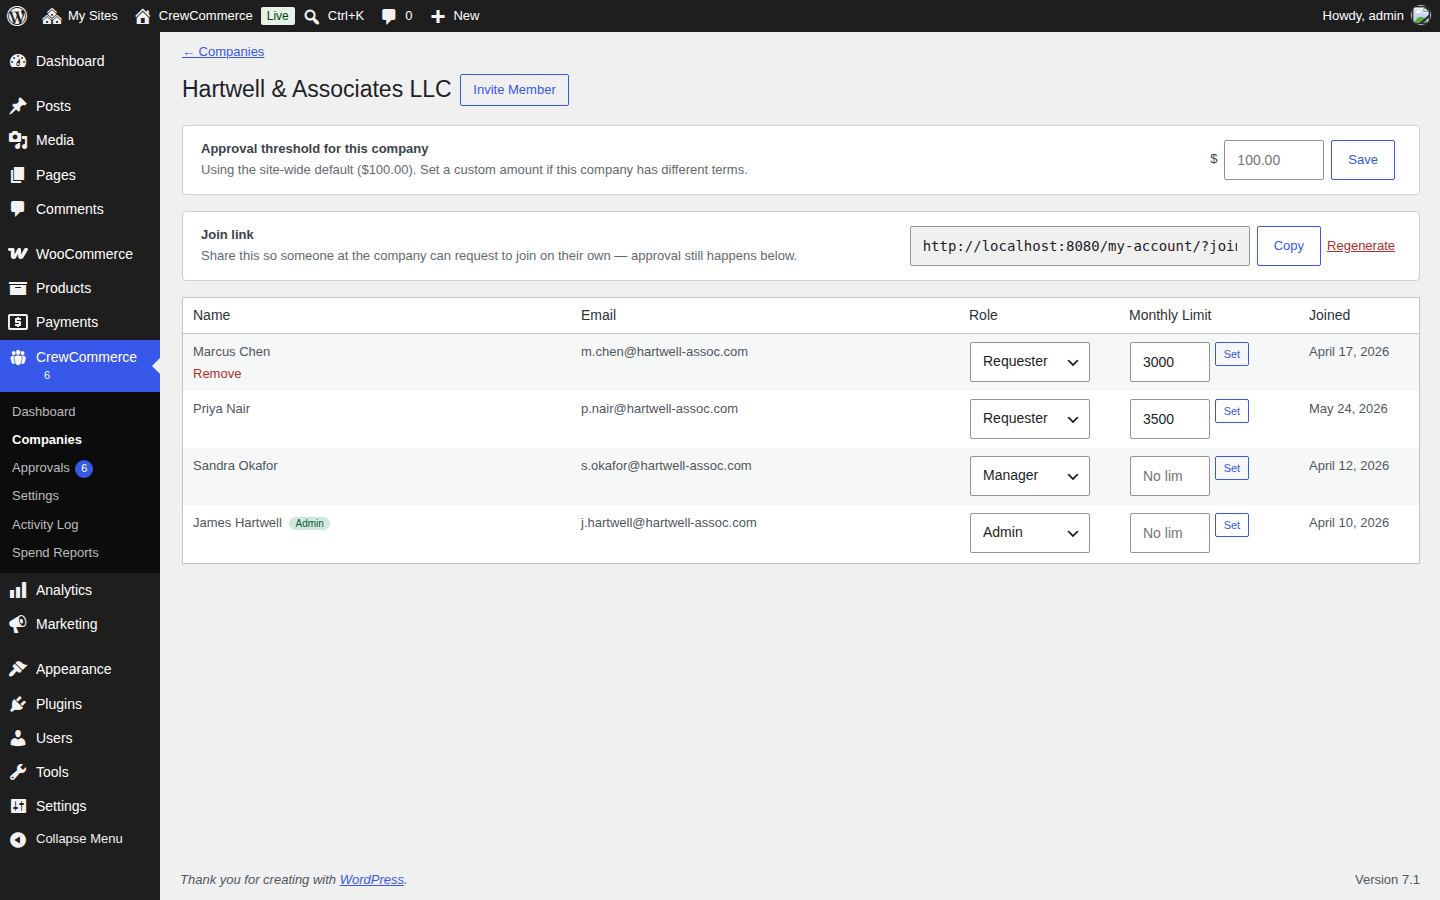
A company's team, with roles (and, with Pro, optional monthly spending limits). -
Place an order as the Requester
Log in as your Requester and add something to the cart that meets or beats your threshold from step 3. Go to checkout and place the order. It's placed, but held for approval — the confirmation page says who it's waiting on:
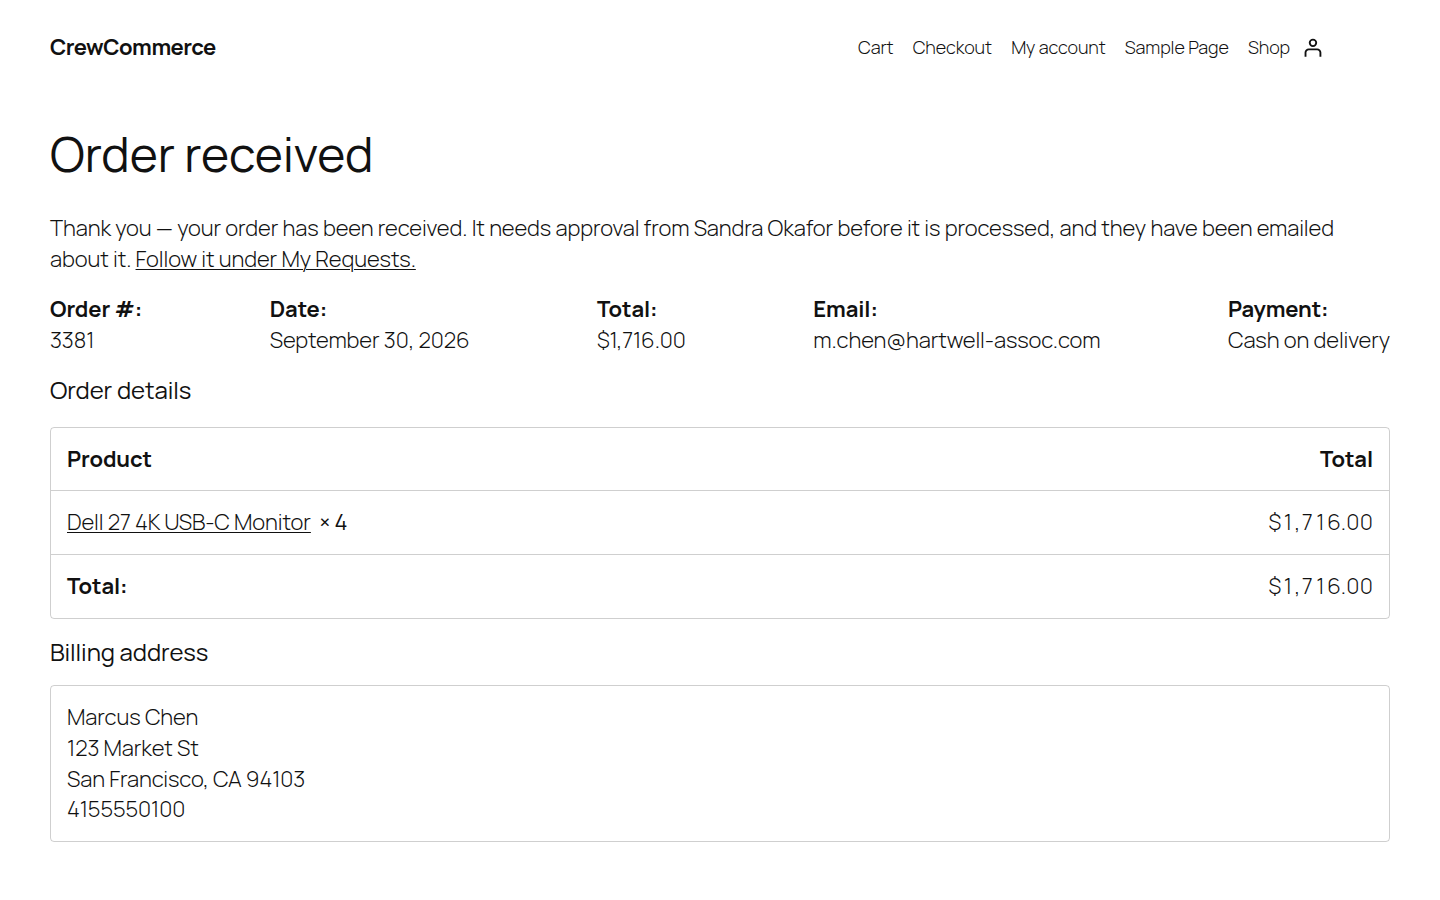
This is expected — it means CrewCommerce is working. The order sits in Pending Approval and the approver has been emailed. Not what you expected? If the confirmation page doesn't mention approval, the order didn't match a rule — check the cart total against your threshold, and that the person you're logged in as is a Requester. If it says the order is waiting but names nobody, the company has no Manager or Admin yet; see Approval Workflows. -
Approve it as the Manager or Admin
Log in as the company's Manager or Admin (they've also had an email about it). The order is waiting under My Account > Pending Approvals:
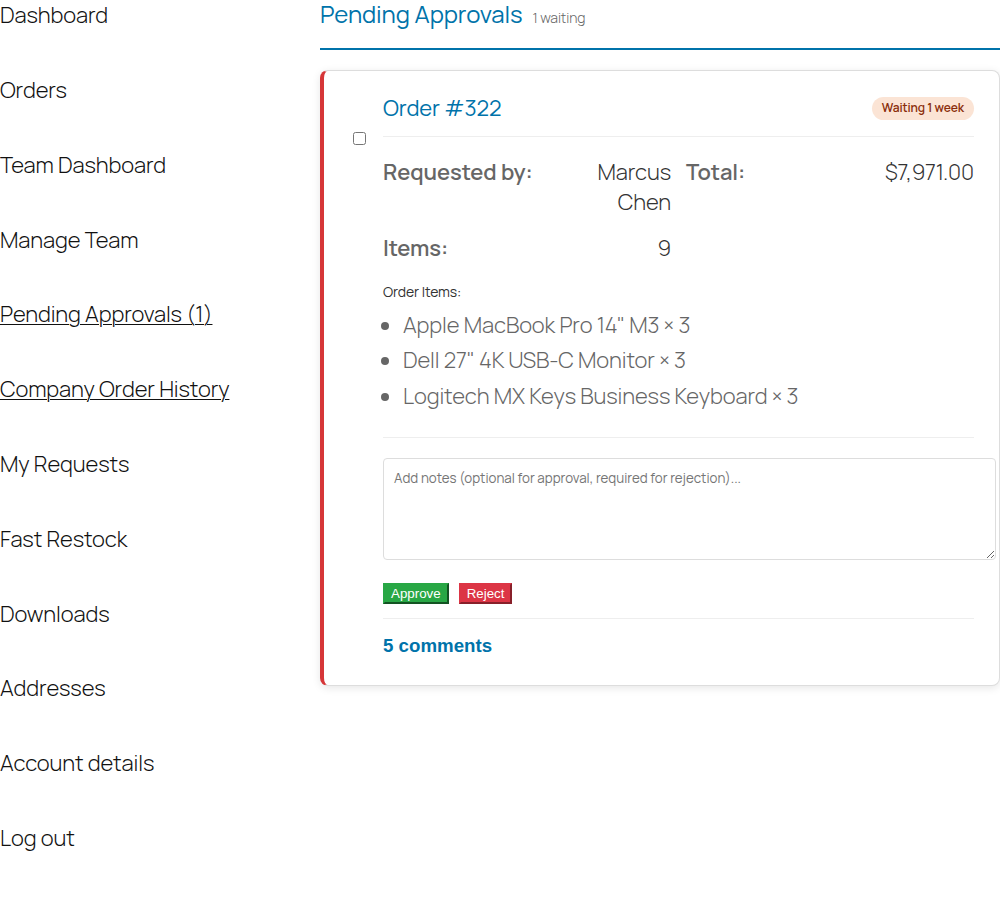
Approve or reject, with an optional note (required if rejecting). Click Approve. The order moves out of Pending Approval and on to you, and you get WooCommerce's usual new-order email. If your store takes payment online, the Requester is emailed a link to pay first — see Payment after approval.
-
See it land
The Requester can track their own request the whole way from My Account > My Requests, including its status and the approver's name:
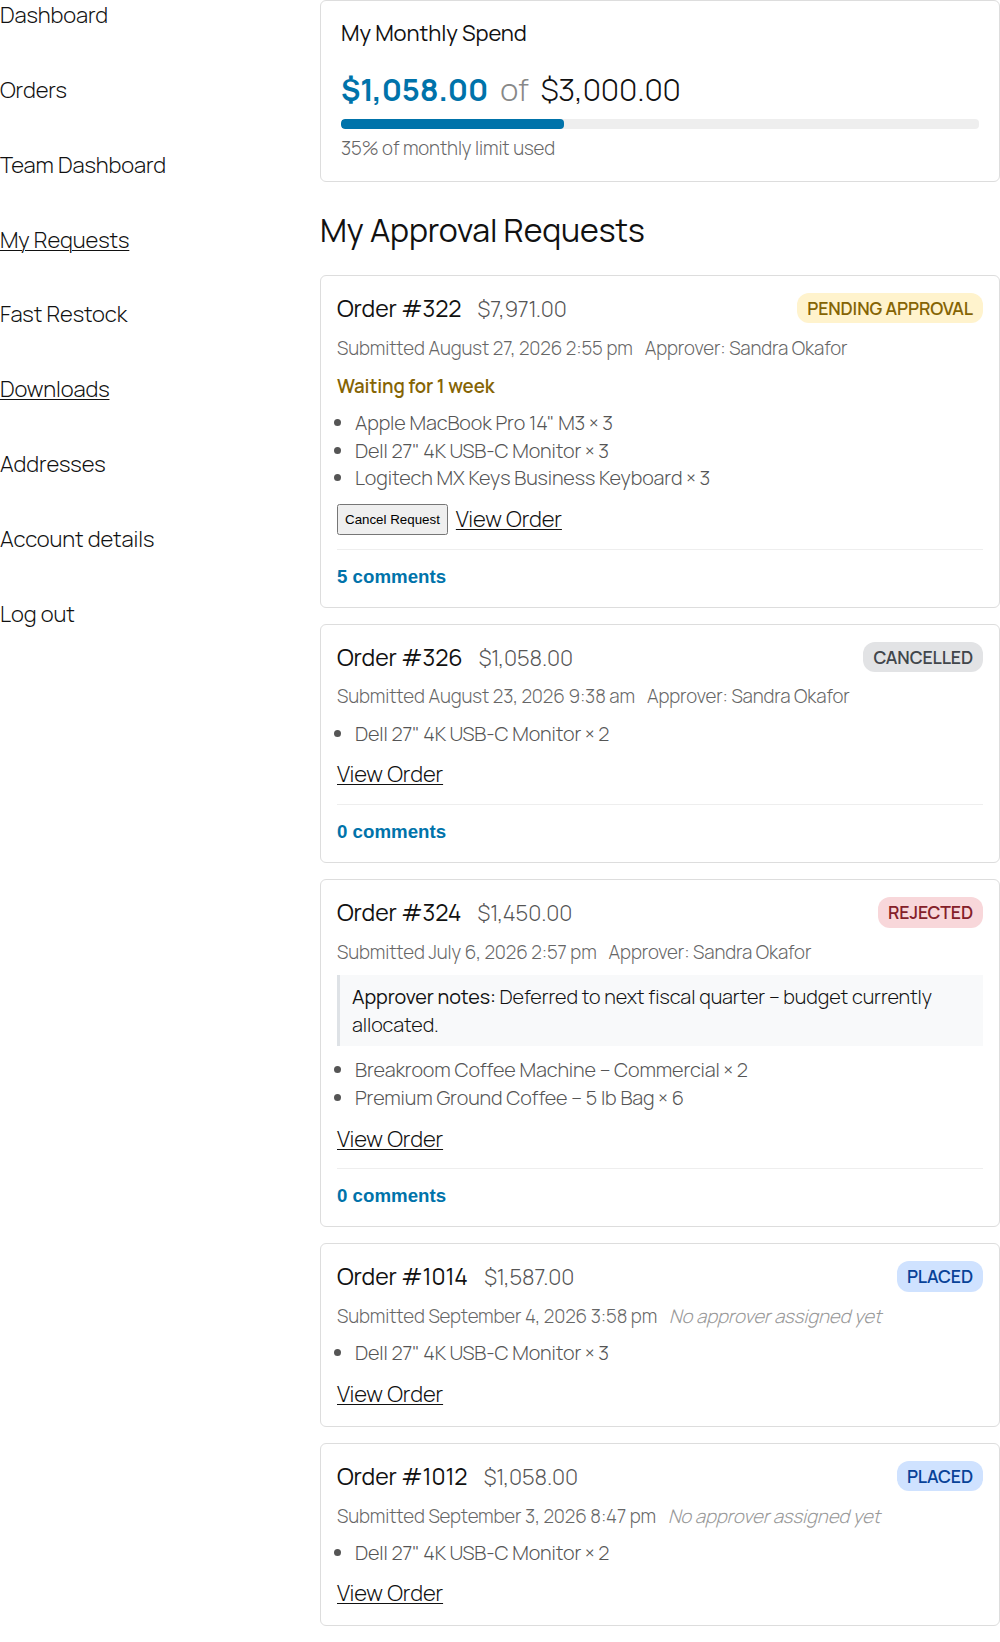
A Requester's view of their own submitted orders.